
8 tips for prepping a property for a professional photo shoot.
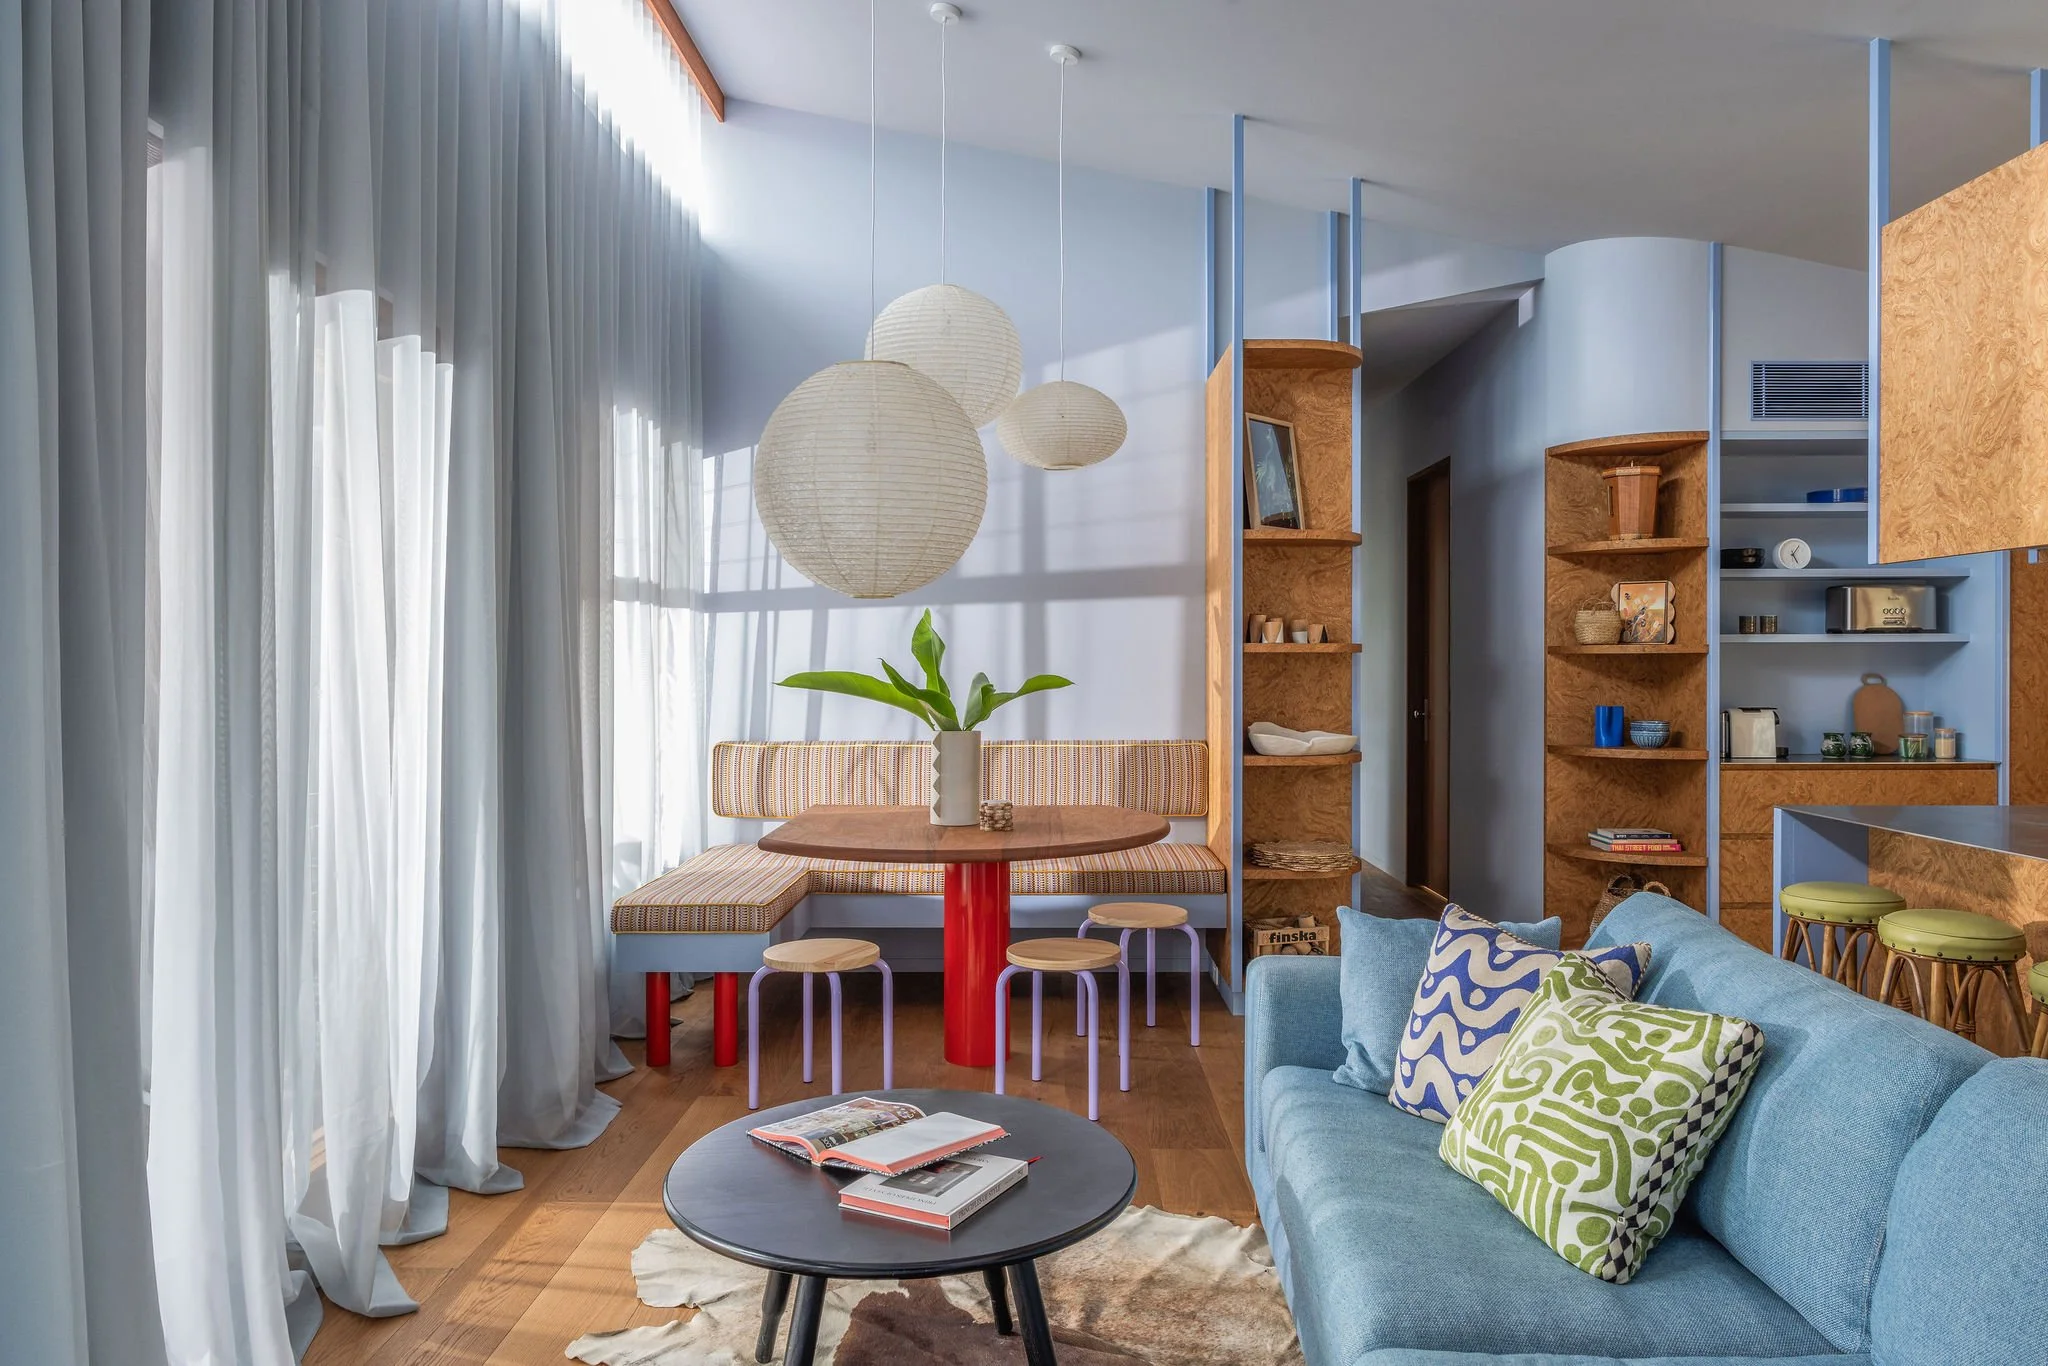
Carlyle Red - Byron Bay Airbnb
Want to Know the Secret to a Smooth and Successful Photoshoot?
A great photoshoot starts long before the photographer arrives.
While an experienced photographer can work wonders on the day, the best results are always achieved when the property is properly prepared beforehand. The more time spent styling, cleaning, and preparing ahead of the shoot, the more time we can spend focusing on creating beautiful imagery.
Here are our top tips for preparing your property before photography day.
Give the Property a Thorough Clean
Think of the preparation as similar to a bond clean.
Pay special attention to windows, mirrors, shower screens, pool fences, and any other glass surfaces. These areas can quickly show fingerprints, dust, water spots, and streaks, all of which become very noticeable in high-resolution photography.
A spotless property instantly elevates the final images.
2. Make Sure the Garden is Looking Its Best
First impressions matter, and exterior photographs are often some of the most important images from a shoot.
Mow the lawn, trim hedges, tidy garden beds, remove weeds, and make sure outdoor furniture is clean and ready to be photographed. A well-maintained garden helps frame the home beautifully and creates a welcoming feel.
3. Clear Leaves and Debris
Take the time to sweep paths, decks, patios, driveways, balconies, and pool surrounds.
Small details such as leaves, sticks, or garden debris can become surprisingly noticeable in photographs and often require additional editing later.
4. Prepare Any Special Features
If you'd like features such as a fireplace, outdoor fire pit, candles, or feature lighting included in the photography, make sure everything is ready to go before the shoot begins.
Having firewood, matches, lighters, candles, batteries, or remote controls easily accessible allows us to quickly incorporate these elements when the timing and lighting are right.
5. Style the Bedrooms in Advance
Freshly laundered and ironed bedding can make a huge difference to the finished photographs.
Before the shoot, think about the overall look you'd like to achieve. Do you prefer a perfectly styled and polished bed, or something that feels softer and more lived-in? Having these decisions made ahead of time helps the day run much more efficiently.
6. Be Flexible with the Weather
Natural light plays a significant role in architecture and interiors photography.
We closely monitor weather conditions in the lead-up to every shoot and will always advise if conditions aren't ideal. Sometimes postponing by a day or two can make a dramatic difference to the final images.
Flexibility with scheduling often results in significantly better photography.
7. Communicate Your Must-Have Shots
Before every shoot, I create a detailed shot list and plan the day around the property's layout, lighting conditions, and key features.
However, if there are specific spaces, design details, products, or compositions you'd particularly like captured, it's important to communicate this before the shoot day.
Whether it's a written list, a Pinterest board, screenshots, or a folder of iPhone photos, sharing your vision helps ensure we're all working towards the same outcome.
8. Preparation Creates Better Results
Of course, my assistant and I are more than happy to help with many of these tasks during the shoot. However, cleaning windows, sweeping leaves, ironing bedding, gathering styling items, and preparing spaces can be surprisingly time-consuming.
When these tasks are completed before we arrive, it allows us to dedicate our time and energy to what we do best—creating beautiful photographs that showcase your property at its absolute best.
The more prepared the property is, the more images we can capture, and the better the final gallery will be.